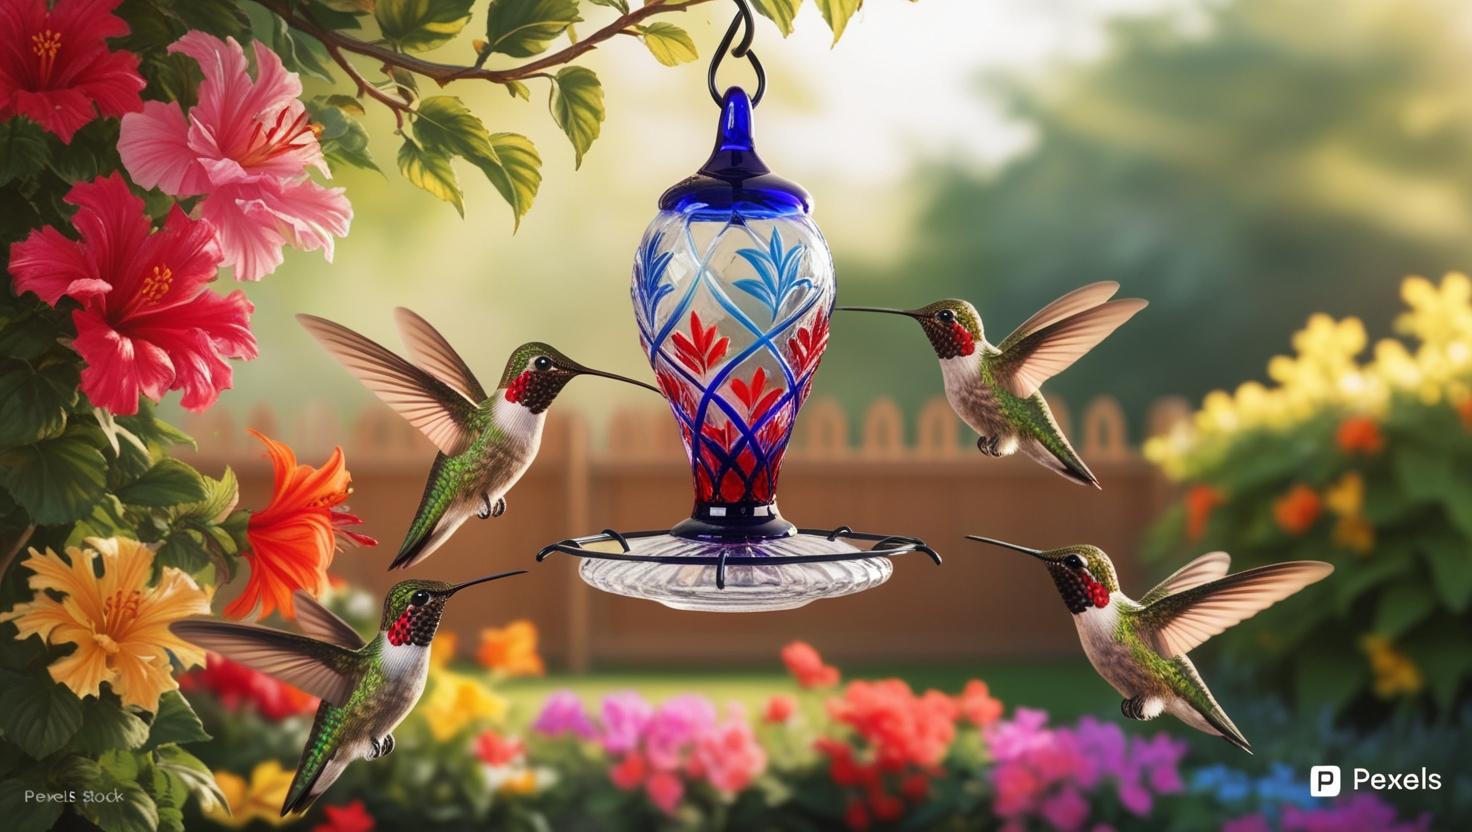
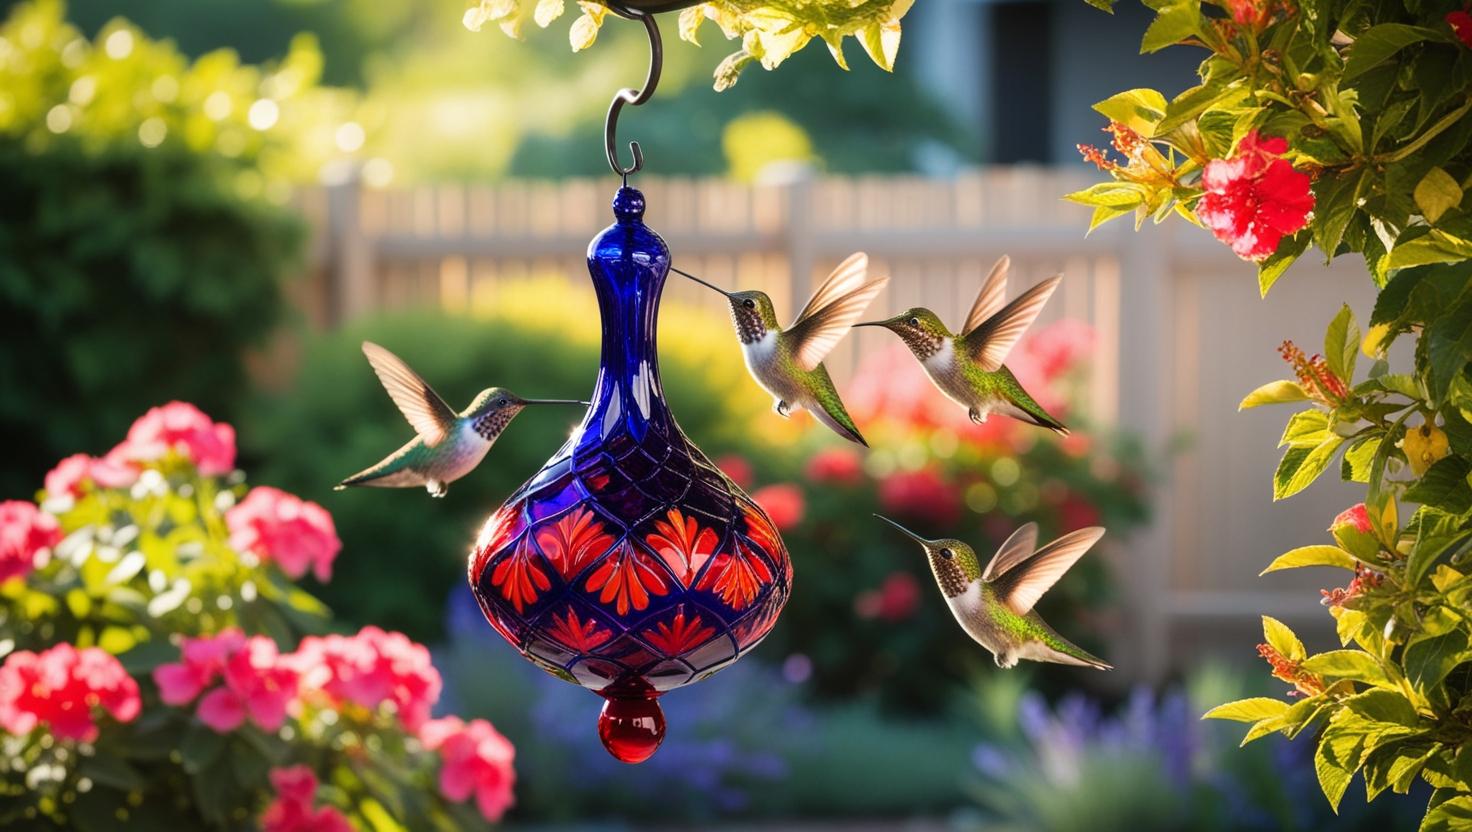
Keeping your hummingbird feeders clean is one of the most critical aspects of attracting and caring for these beautiful birds. Dirty feeders can harbor harmful bacteria, mold, and fermented nectar that can cause illness in hummingbirds. This guide provides a step-by-step process on how to clean hummingbird feeders safely, along with tips to ensure your feathered friends remain healthy and happy.
Why Cleaning Hummingbird Feeders is Important
Hummingbirds rely on feeders as a supplemental food source. Over time, leftover nectar can ferment, and grime can build up, creating a breeding ground for mold and bacteria. These contaminants can lead to fungal infections, such as avian candidiasis, which can be fatal to hummingbirds. By cleaning your feeder regularly, you protect these tiny creatures and encourage them to return to your garden.
Supplies You Will Need
Before you start cleaning, gather the following supplies:
- Mild dish soap
- A bottle brush or small cleaning brush
- White vinegar or a mild bleach solution
- Warm water
- A clean towel or drying rack
- Gloves (optional)
Step-by-Step Guide to Cleaning Hummingbird Feeders Safely
1. Empty the Feeder
Start by emptying any remaining nectar. Never reuse old nectar as it may already be contaminated.
2. Disassemble the Feeder
Carefully take apart all the components of your hummingbird feeder, including the reservoir, base, and feeding ports. This step ensures that you can clean every part thoroughly.
3. Wash with Soapy Water
In a basin or sink, mix warm water with a small amount of mild dish soap. Use a brush to scrub the interior and exterior of the feeder components. Pay close attention to the feeding ports, as they often harbor sticky nectar residue.
4. Use Vinegar for Stubborn Grime
If you notice mold or stubborn dirt, soak the parts in a mixture of one part white vinegar to two parts water for about 15 minutes. Vinegar is a natural disinfectant and safe for hummingbirds.
5. Sanitize with a Bleach Solution (Optional)
For a deeper clean, especially if the feeder hasn’t been cleaned for a while, you can sanitize it using a mild bleach solution (1 teaspoon of bleach per gallon of water). Let the parts soak for one to two minutes, then rinse thoroughly.
6. Rinse Thoroughly
Rinse each part under running water to remove all soap or bleach residue. Residual chemicals can harm hummingbirds, so ensure the feeder is entirely clean.
7. Dry Completely
Allow all components to air dry completely before reassembling. Moisture can promote mold growth, so it’s crucial to ensure everything is dry.
8. Reassemble and Refill
Once dry, reassemble the feeder and refill it with fresh nectar. The nectar should be a simple solution of four parts water to one part white sugar—no food coloring is necessary.
9. Hang the Feeder in a Shaded Area
Place the feeder back in its usual spot, ideally in a shaded area to slow nectar fermentation.
10. Establish a Cleaning Routine
In cooler weather, clean your feeder at least once a week. In hot weather, clean it every two to three days to prevent fermentation and mold growth.
Tips for Safe Cleaning
- Always avoid harsh chemicals like ammonia or abrasive cleaners, which can harm hummingbirds.
- Invest in a feeder with removable parts to make cleaning easier.
- Monitor nectar levels and refill with fresh nectar as needed.
- Replace feeders that show signs of wear, such as cracks or leaks, as they can harbor bacteria.
10 FREQUENTLY ASKED QUESTIONS ANSWERED
Conclusion
Regularly maintaining your hummingbird feeder is essential to ensure the health and safety of these wonderful birds. By following this guide on how to clean hummingbird feeders safely, you’ll not only protect your local hummingbird population but also enjoy their delightful presence in your garden for years to come. Keep these tips and questions in mind, and you’ll be well on your way to becoming a trusted hummingbird caretaker!


